SearchUnify Adapter
This is super-helpful in three scenarios;
1) Intent suggestion. Meaning a user will get smart suggestions for adding intents and utterances to existing stories.
2) Fallback on Bot Queries. Meaning if the chatbot (traditional bot without LLM integration) is unable to find any relevant response to a user query, the bot goes to fallback.
3) LLM-Powered Responses. Meaning a LLM-powered chatbot uses it as a [content] layer to scan through and get the context and the content to generate responses.
Setting Up SearchUnify Adapter
-
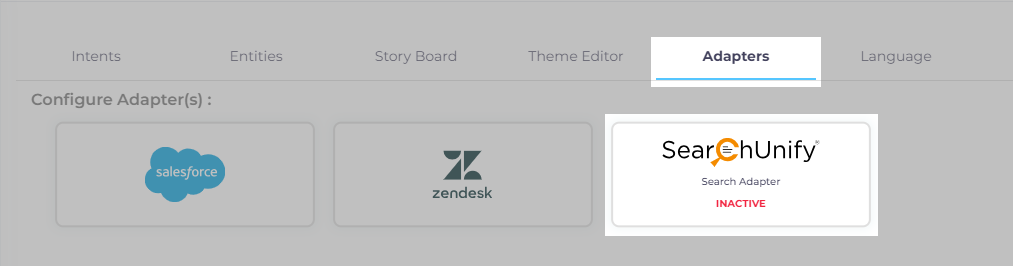
Edit the agent from the list of added agents on the SUVA homepage. Navigate to the Adapters tab.
-
Click on the SearchUnify adapter.

-
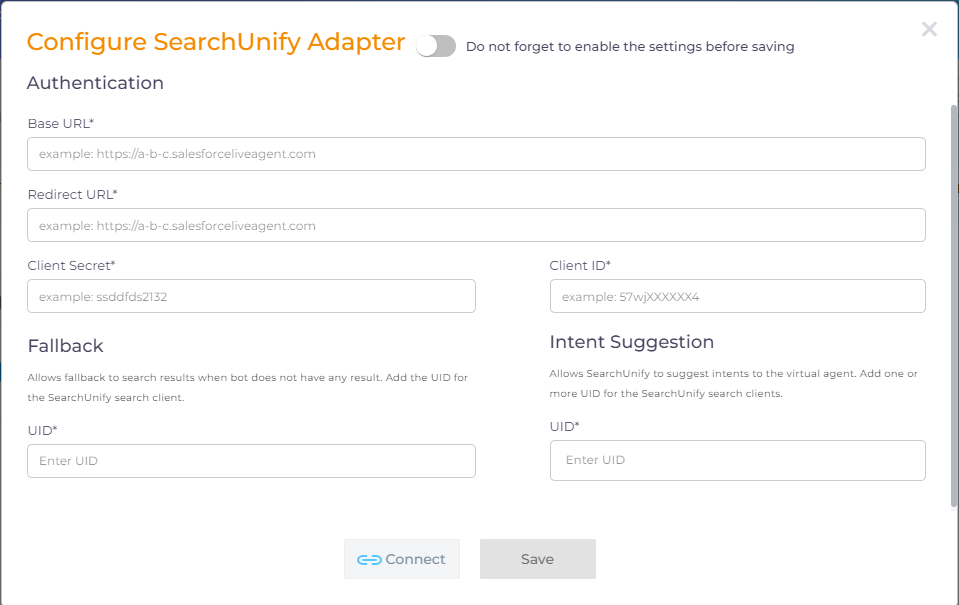
Enter the following details to complete the connection with SearchUnify:
3.1. Base URL. The URL of your SearchUnify instance.
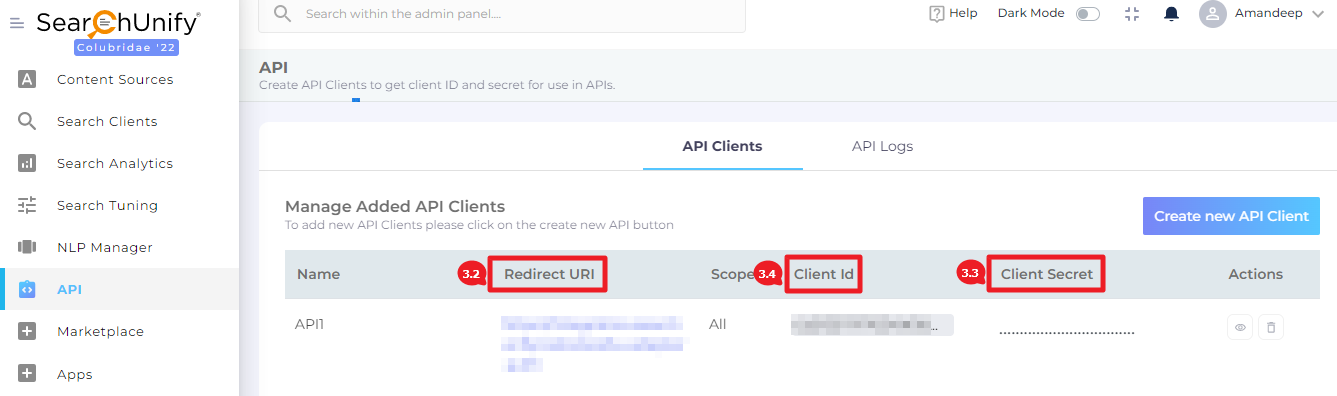
3.2. Redirect URL. The Redirect URI of API Clients under API section from SearchUnify admin panel. It should be in the following format:
<su-instance-url>/api/suva/adapter/su-adapter-authExample: https://feature.searchunify.com/api/suva/adapter/su-adapter-auth
3.3. Client Secret. The Client Secret of API Clients under API section from SearchUnify admin panel.
3.4. Client ID. The Client ID of API Clients under API section from SearchUnify admin panel.
If you don't have an API App set up, refer to this doc - Get Client ID and Client Secret with an API App. Just make sure you enter the URI in the format mentioned in step 3.2 and select the API Scope to either Search or All.
NOTE. Be certani that your User Scope in SearchUnify is also set to All. Refer to this doc for more details on how to change user scopes in SearchUnify - Change User Scope.
3.5. Fallback UID. Enter the UID of your SearchUnify search client to enable fallback on search results. This Search Client will also be used for LLM integration to generate chatbot responses.
Note. Make sure that the Title and Description/Summary fields are searchable for the Content Source(s) linked to the Search Client. Refer to this doc for more details on configuring a content source in a search client - Configure Content Sources Linked to a Search Client.
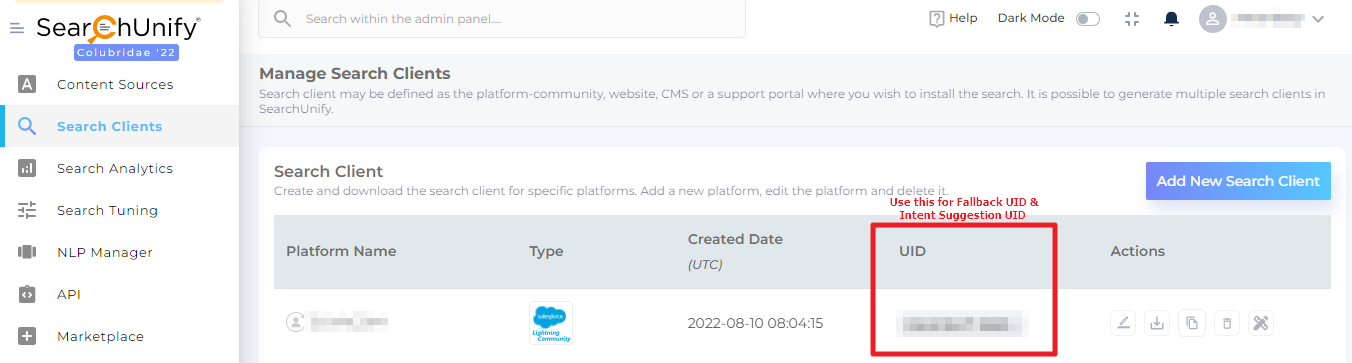
3.6. Intent Suggestion UID. Enter the UID of one or more SearchUnify search clients to enable intent suggestions using search analytics, and press Enter.

-
Before you save the settings, make sure to enable it by toggling it on.

-
Click Save (Don’t go about just connecting yet).
-
Open SU adapter again and click Connect. You will see a pop-up confirmation message, click Continue. A new pop-up tab will open on your screen, click Allow. You will now receive a connection successful message.